How to Wood Burn a Christmas Ornament
To celebrate the Christmas season I created some snowflake ornaments with a wood burning tool. Even if you haven’t tried wood burning before, this is an easy project to get started with. You will need:
A wood ornament (do not use any wood product that has glue or chemicals in it)
A wood burning kit or a soldering iron
Pencil
Tape
Carbon paper
Sandpaper
To see how I made these, watch the quick two minute video tutorial below.
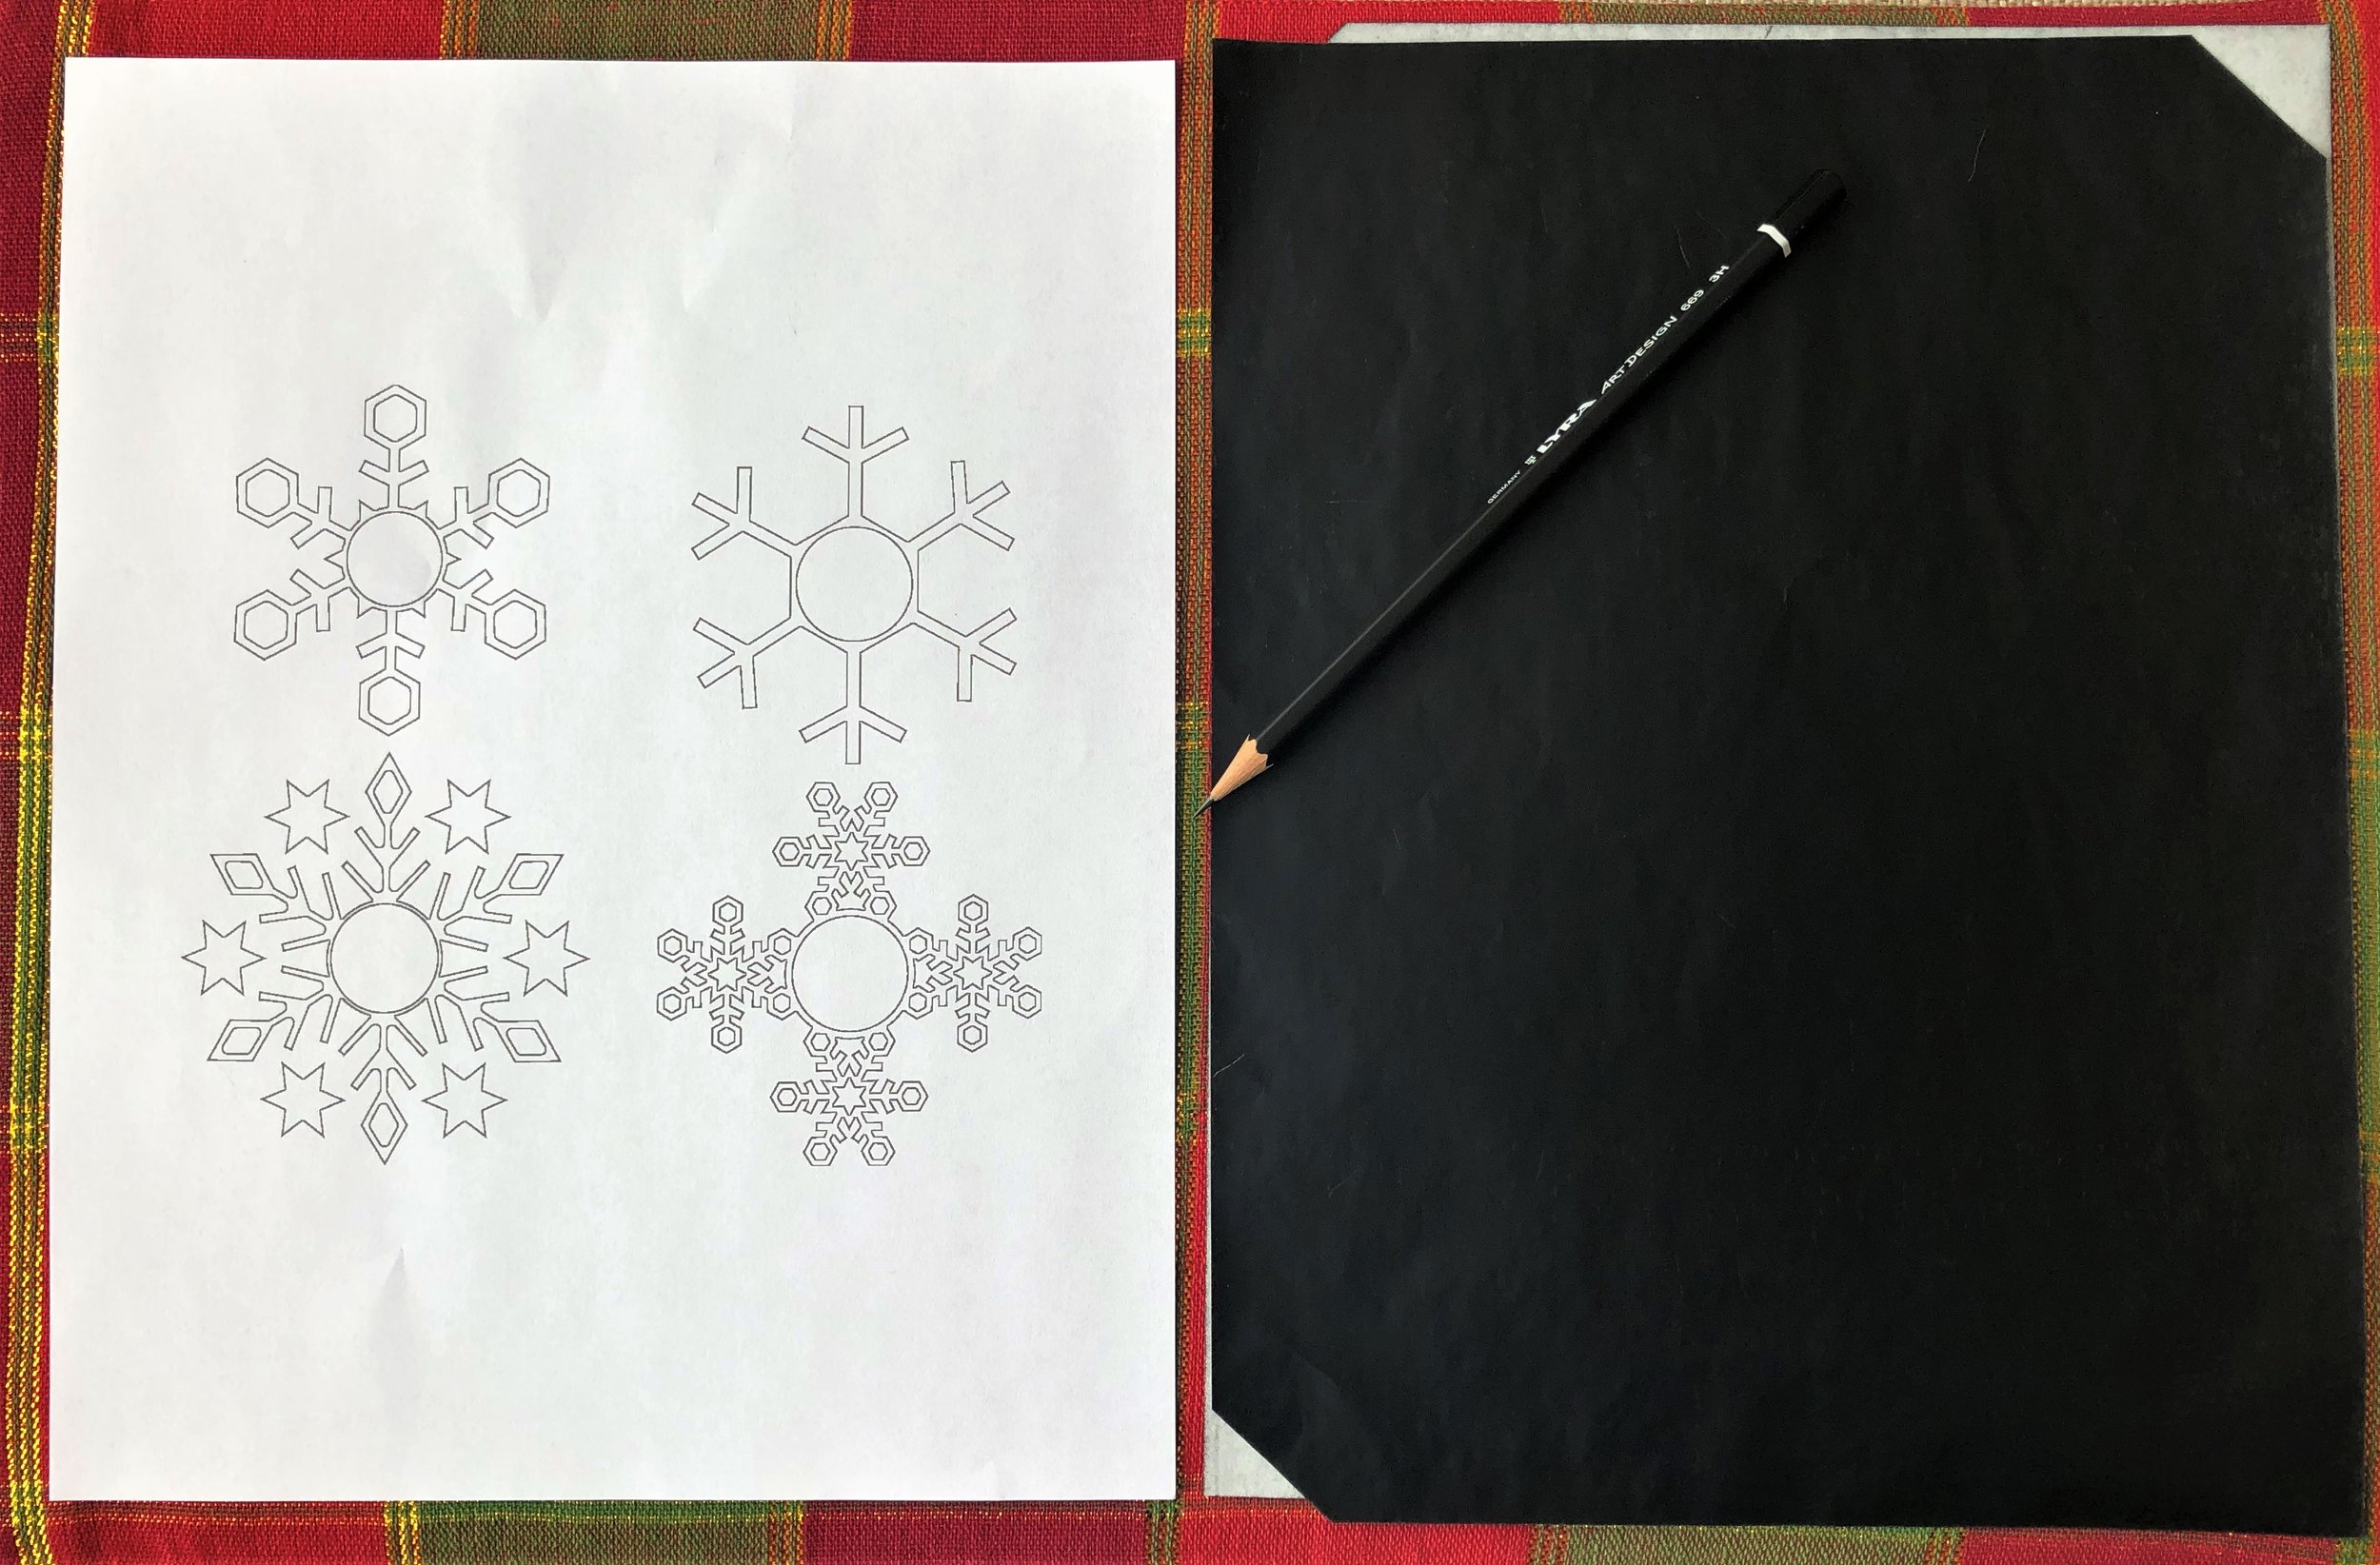
First, I found these snowflake designs on Pixabay which are free to use. You can download this image from the original source here.
I used Rapid Resizer to make the image into a black and white line drawing. This made it easier to use the design as a stencil with the wood burning tool.
You can save this image by right-clicking on it if you would like to use it as well. If you prefer to use words on your ornament for phrases such as “Merry and Bright”, then you can also use the free Letter Stencil Maker on Rapid Resizer to make lettered images instead.
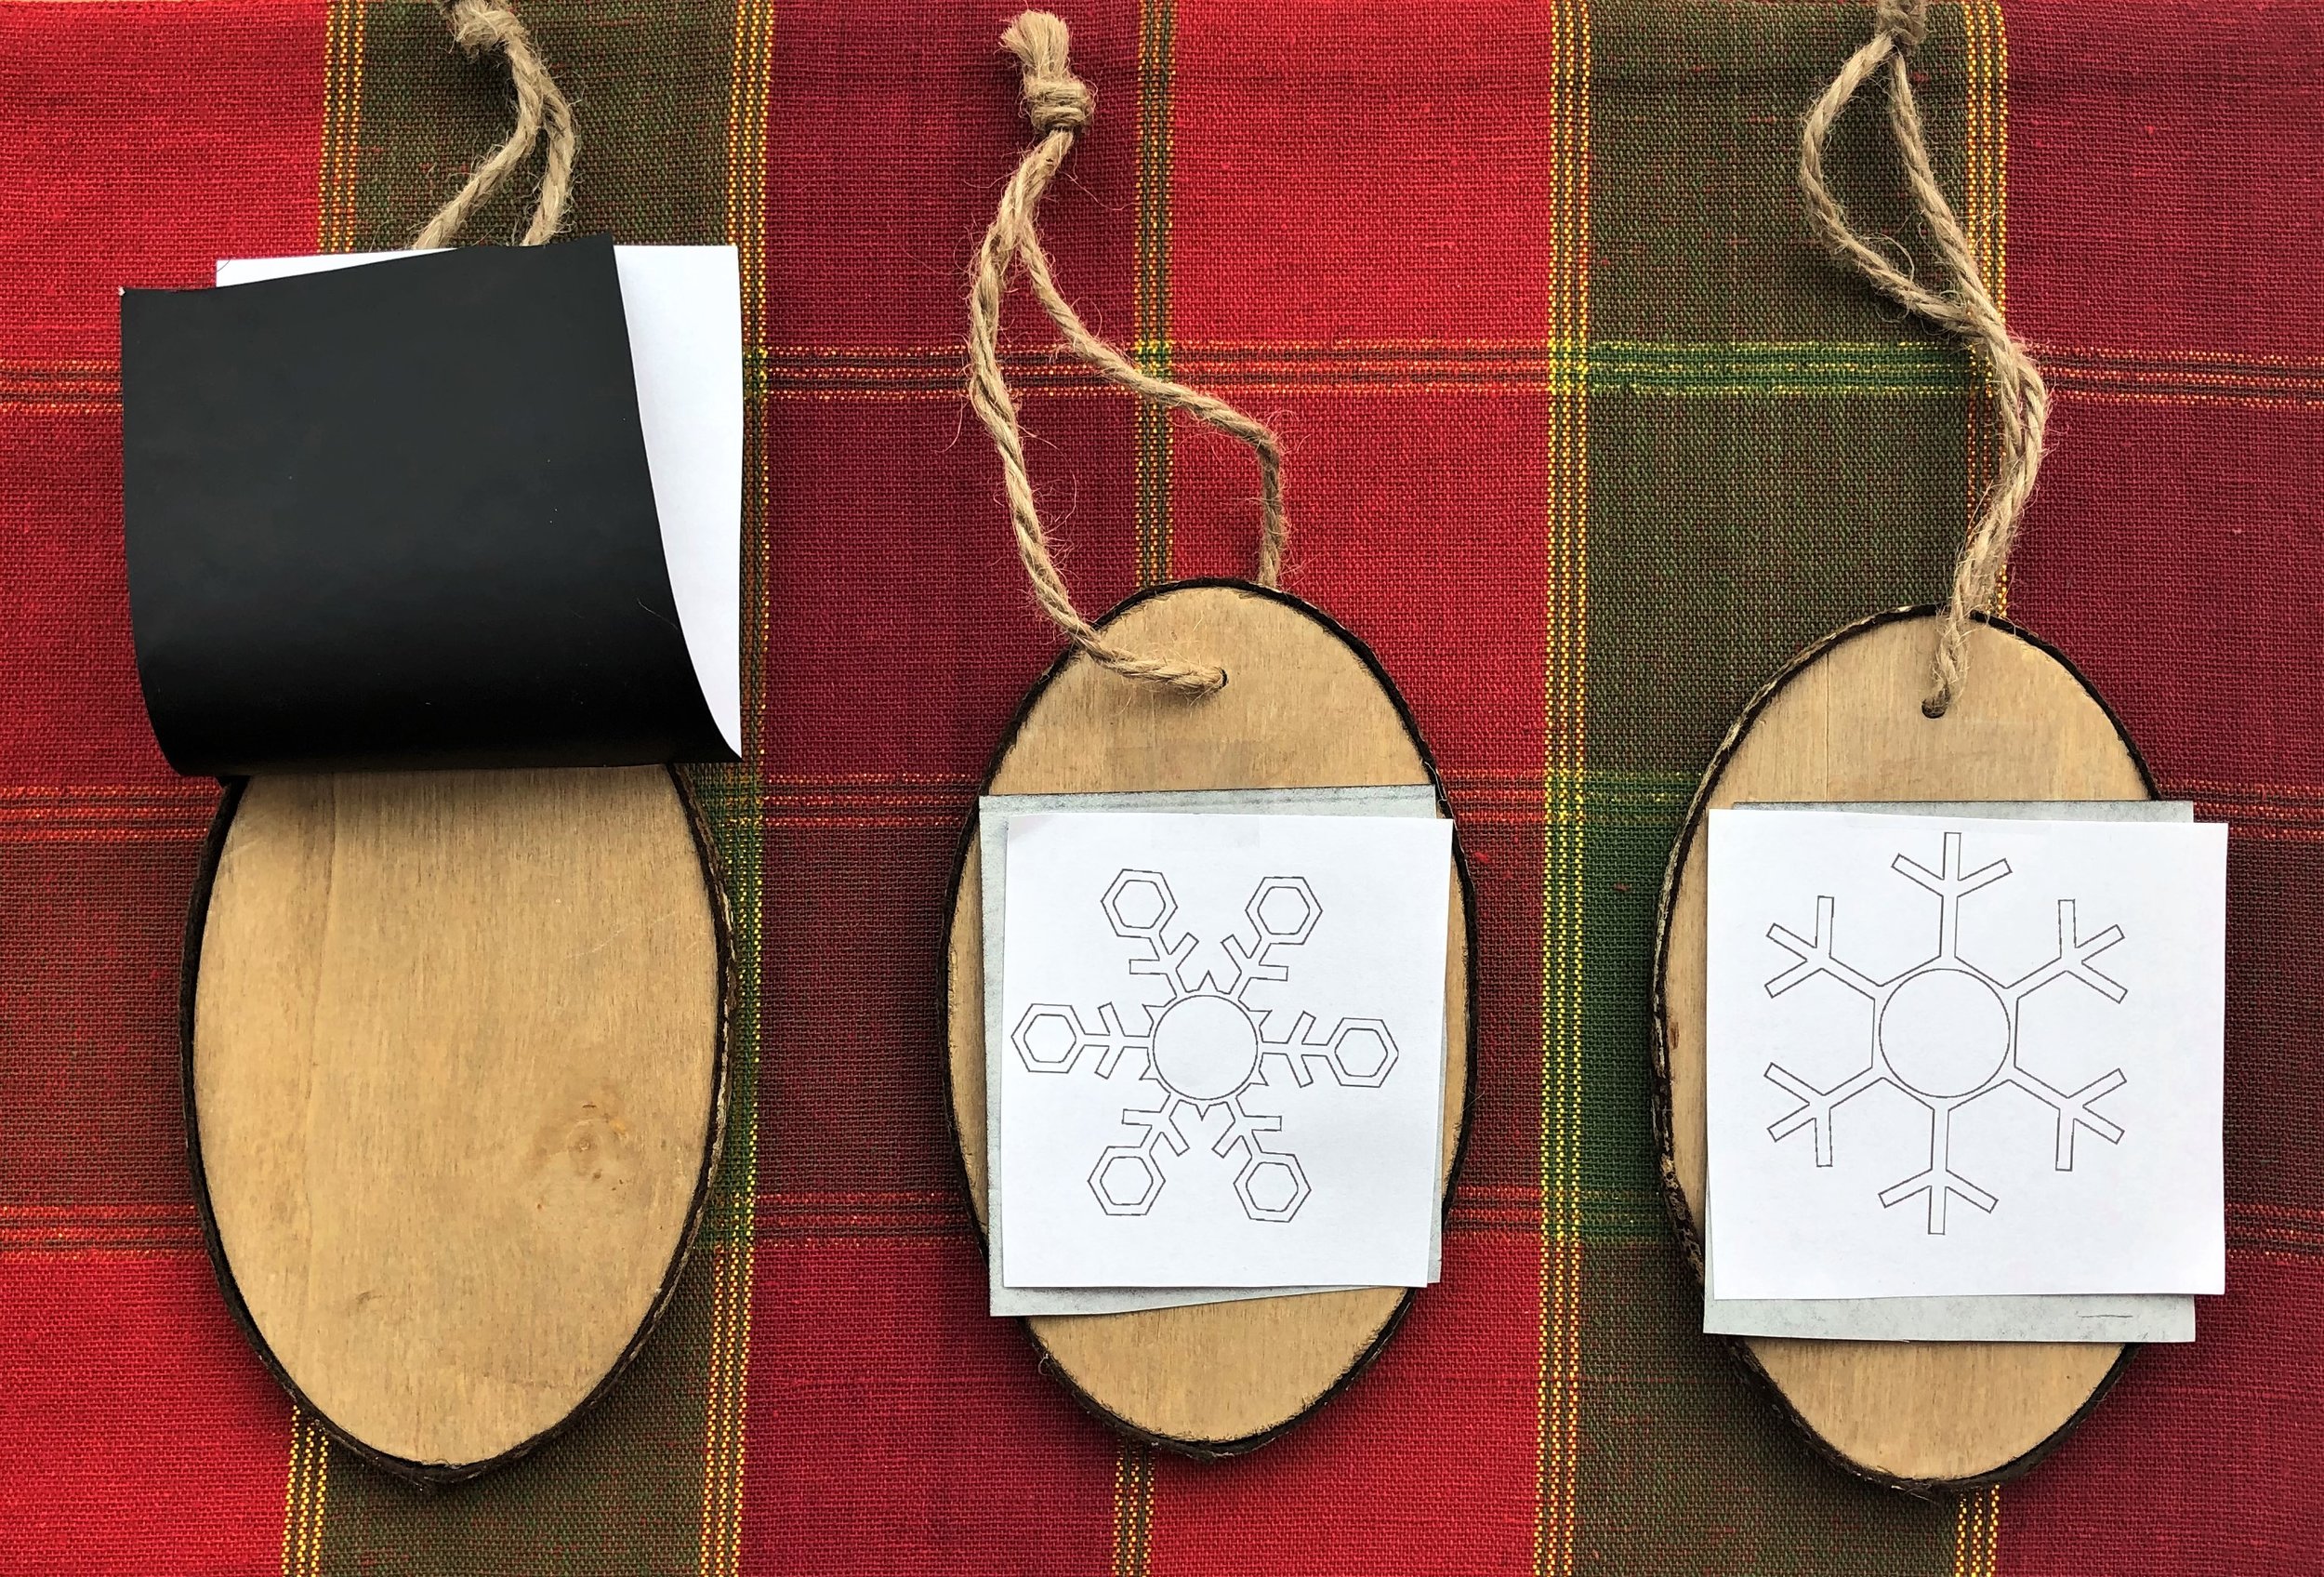
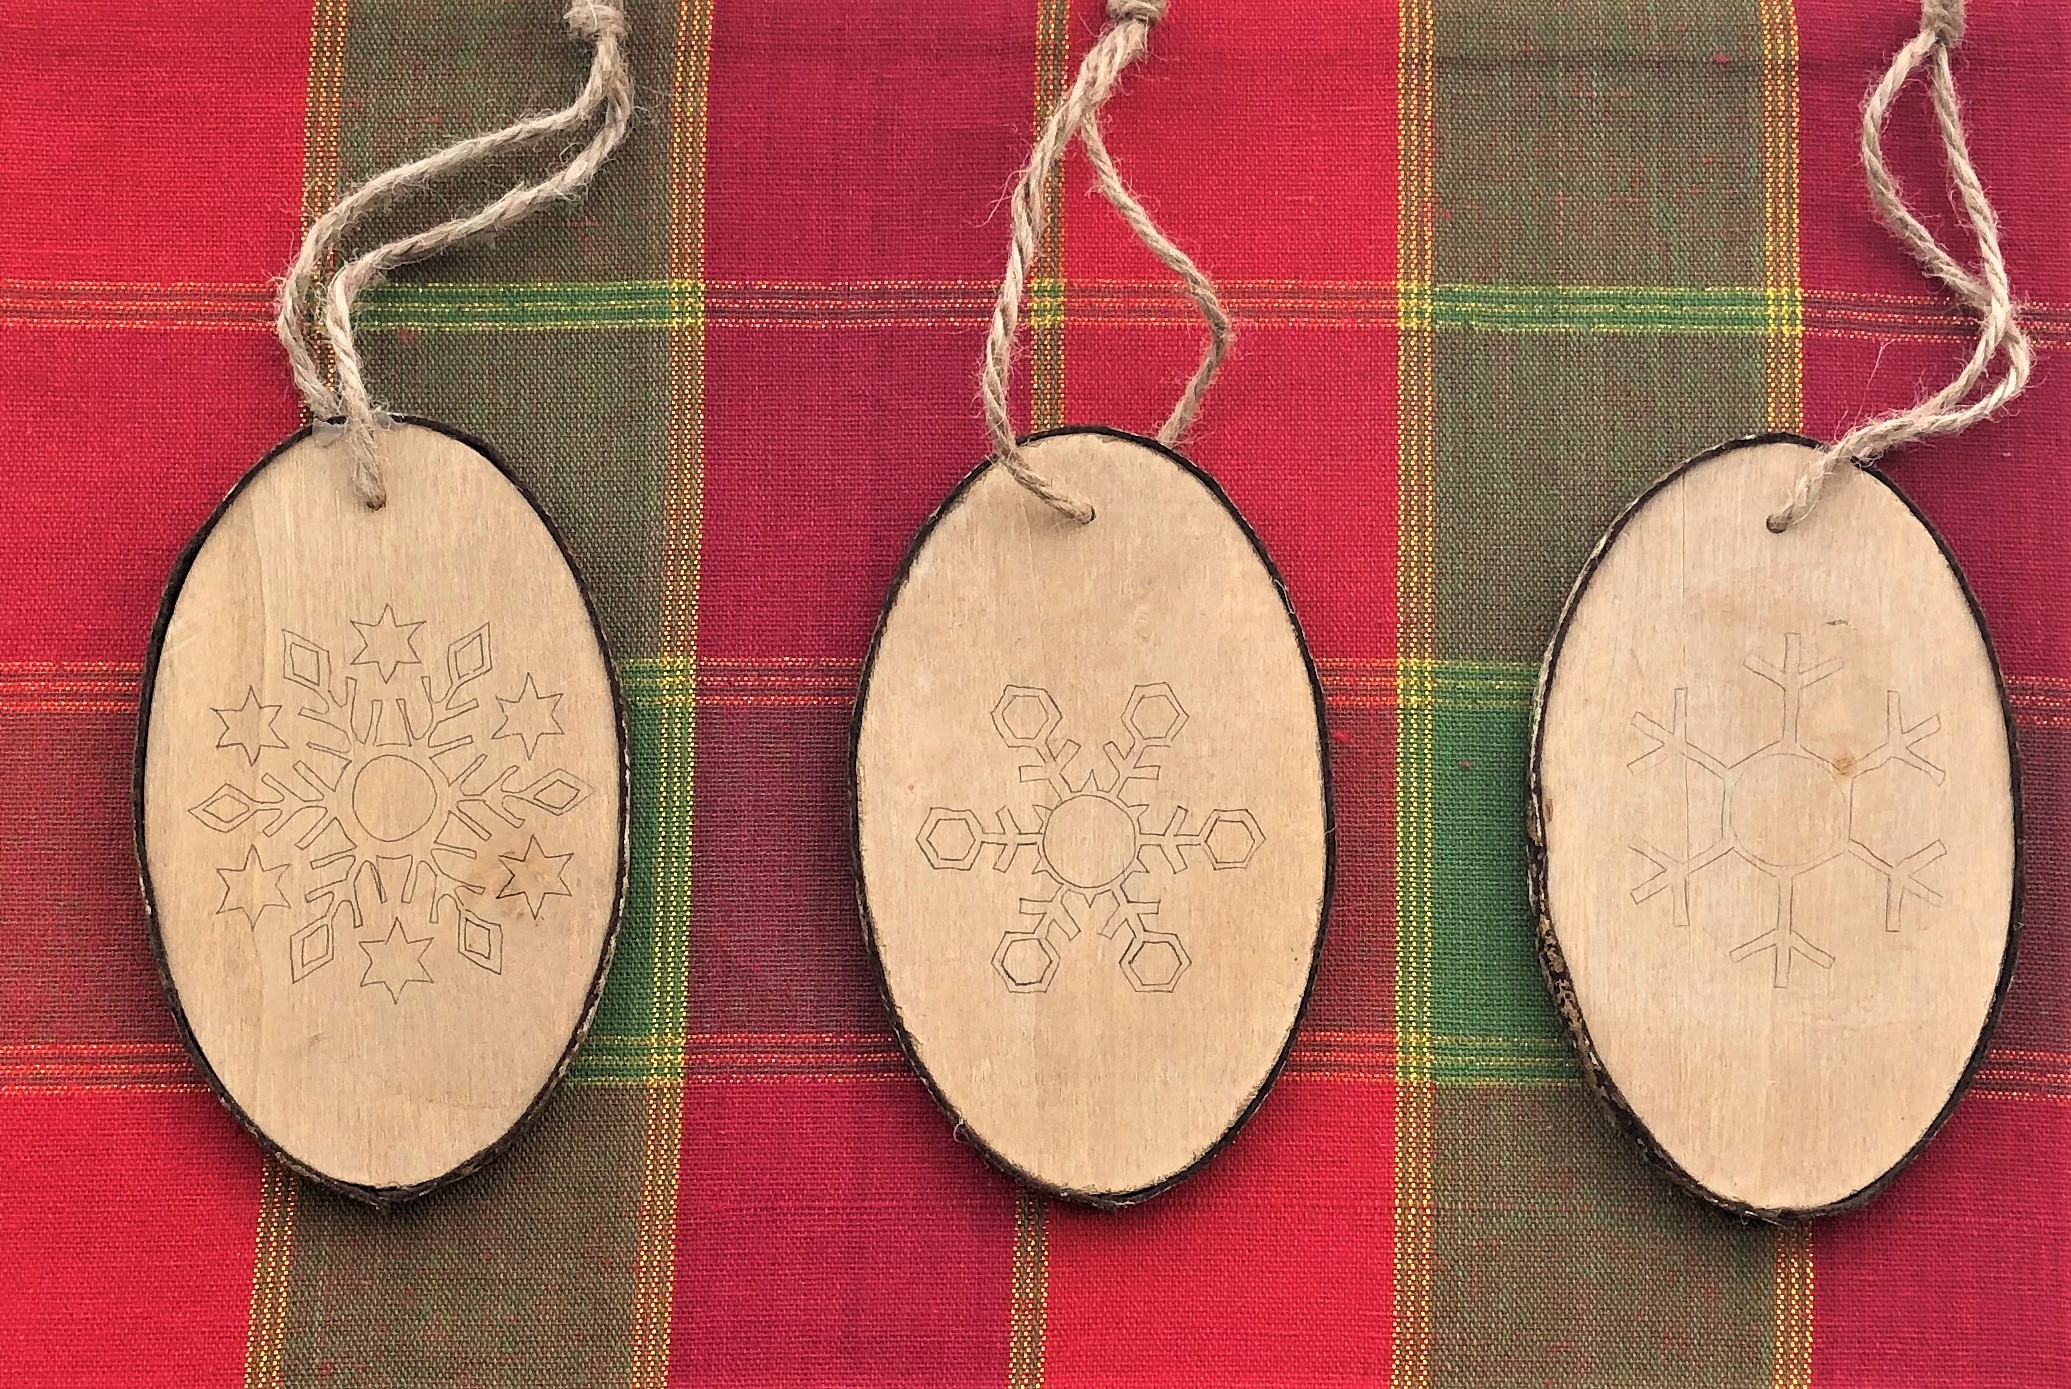
I cut out pieces of carbon paper to fit the wood ornaments which were 3x4 inches and cut out the snowflakes and taped them together to the ornament. Then I traced the snowflakes to transfer the design to the wood.
If you don’t have carbon paper, just shade the back of the snowflake printout with pencil and tape it onto the wood and trace it with the shaded side facing down.
Next, I used my wood burning tool to burn the lines of the design. I used a tip that had a straight edge so I could just press down along the lines of the design. If you haven’t used a wood burning tool before, practice on a scrap piece of wood first to figure out which tip works best for you. You can also buy an extra ornament so that you can practice on the same type of wood. Go slowly, and tape the stand for the wood burning tool to your work surface so that it is more stable. Pull the wood burning tool towards you as you work, and if you make a mistake then you may be able to use sandpaper to smooth it out.
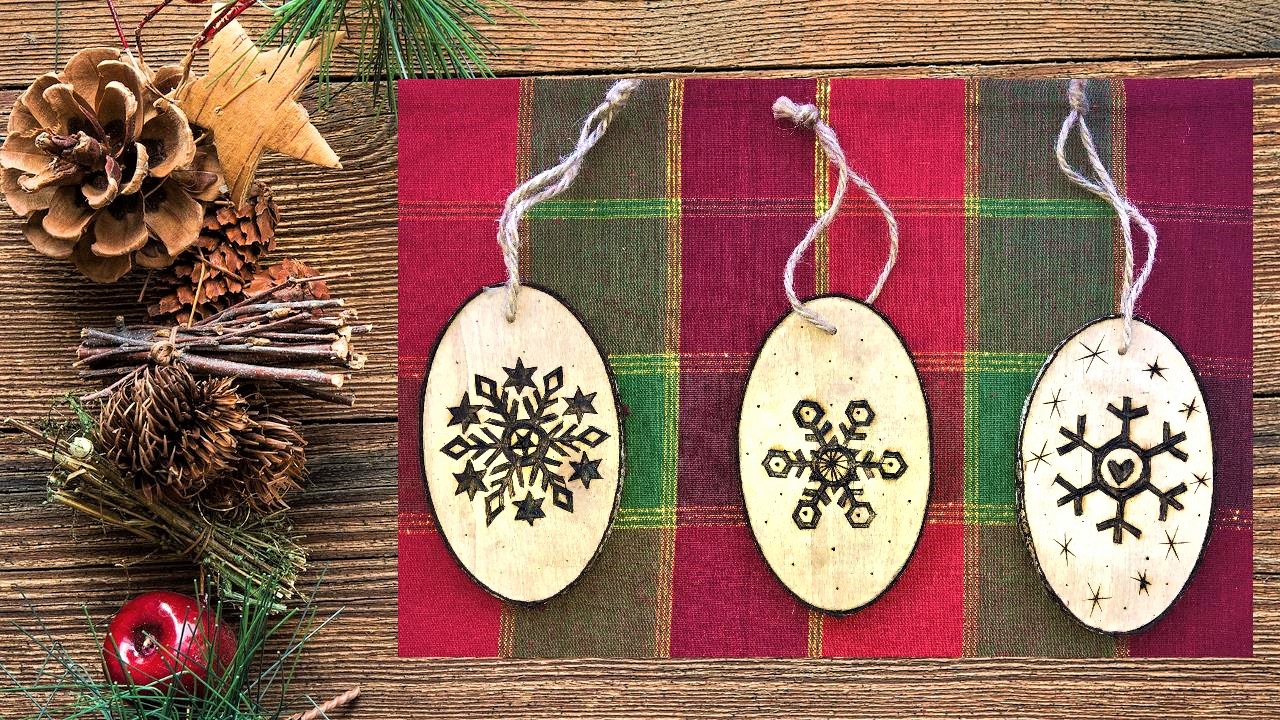
I added some dots and stars around the snowflakes that weren’t in the original design, and now I have three new ornaments for my Christmas tree! I hope you found this tutorial helpful and that it inspires you to make some crafts once all of the shopping is finished. If you get into the Christmas spirit and make some wood burned ornaments let us know how it goes and please comment below with any questions.
Merry Christmas!
~Melissa


